Cleaning Guide

Various stains on fabric including grass and dirt

How to Tackle Tough Stains on Clothes: 5 Proven Methods

Hey there, fellow stain fighters! Today, we’re diving into the world of tough stains on clothes. We’ve all been there – that coffee spill, the kids’ grass stains, or that mysterious mark that just won’t budge. But fear not! I’m here to share with you five proven methods to tackle those stubborn stains and make your clothes look brand new again. Let’s get started! 1. Pre-Treatment is Key Time is of the essence when it comes to stains. The longer a stain sits, the more it bonds with the fabric, making it a tougher opponent to tackle. That’s why it’s crucial to address the spill or spot as soon as you spot it. Think of it like a first responder to a cleaning emergency – the quicker you act, the better the outcome. When you first encounter a stain, your instinct might be to start scrubbing away. But hold up! Scrubbing can actually be counterproductive. It might spread the stain wider or even push it deeper into the fibers of your clothing. Instead, grab a clean, absorbent cloth or paper towel and gently dab at the stain. The goal here is to lift as much of the spill as possible, not to work it further into the fabric. Dab from the outside of the stain towards the center – this helps contain the stain and prevents it from spreading. After you’ve done your initial dabbing, it’s time to pre-treat. This step is like giving your stain a heads-up that a full-on laundry assault is coming. Apply a stain remover or a small amount of liquid detergent directly onto the affected area. These products are designed to start breaking down the stain right away. But here’s a pro tip: don’t just slap it on and throw the garment in the wash. Let the remover or detergent sit on the stain for at least 5 minutes. This waiting period allows the cleaning agents to penetrate the fabric and start working their magic on the stain. 2. Natural Solutions for Organic Stains Salt and Lemon Juice: This duo is fantastic for handling organic stains, especially on lighter fabrics. Salt acts as a gentle abrasive, helping to lift the stain, while lemon juice, with its natural bleaching properties, works to lighten and remove the stain. Here’s how to use this combination: Prepare the Solution: Squeeze fresh lemon juice over the stain. Make sure the stained area is thoroughly soaked in the juice. Then, sprinkle a generous amount of salt over the lemon juice. The salt doesn’t dissolve immediately, which is exactly what you want. Let It Sit: Allow this mixture to sit on the stain for about an hour. For tougher stains, you can even let it sit longer. The salt will start to absorb the stain, and the lemon juice will work to break it down. Gentle Scrubbing: After letting it sit, gently scrub the stained area. You can use an old toothbrush or just your fingers. This scrubbing action helps to work the lemon juice deeper into the fibers and assists the salt in lifting the stain. Rinse and Wash: Once you’ve scrubbed the stain, rinse the area thoroughly with cold water. After rinsing, launder the garment as you normally would. This method is particularly effective for fresh organic stains and works wonders on fabrics that are safe to be treated with mild acid like lemon juice. It’s a great option for those who prefer using readily available kitchen items for cleaning. Another great option involves using Hydrogen Peroxide and Dish Soap. This combination is particularly effective for colorful and tougher stains. Hydrogen Peroxide and Dish Soap Method: Create the Mixture: Mix two parts hydrogen peroxide with one part dish soap. Hydrogen peroxide acts as a mild bleaching agent, which helps in lifting stains, while the dish soap cuts through the grease and residue. Apply to the Stain: Gently apply this mixture directly to the stain. You can use a soft brush or a cloth to dab it on. Ensure the stain is fully covered by the mixture. Let It Work: Allow the mixture to sit on the stain for about 10 to 30 minutes. The duration depends on the severity of the stain. For tougher stains, a longer sitting time can be more effective. Gentle Scrubbing: After letting the mixture sit, gently scrub the area with a soft brush or cloth. This helps the solution penetrate deeper into the fibers and lift the stain. Rinse and Wash: Rinse the garment thoroughly under cold water. Ensure all the mixture is washed out before laundering the garment as usual. This method is safe for most fabric types but is particularly effective on sturdier fabrics. As always, it’s wise to do a spot test on a hidden area of the fabric to ensure there’s no discoloration or damage.     3. Tackling Oil-Based Stains Dish soap is a superhero in the fight against oil and grease stains. It’s designed to cut through grease on your dishes, and it works just as well on your clothes. Here’s how to use it: find a good quality dish soap – one that’s known for its grease-fighting power. Apply a small amount directly onto the stain. Then, gently rub the soap into the fabric. You don’t need to be too aggressive here; a gentle touch is enough to let the soap do its job. The soap will start to break down the oil, making it easier to wash out. After rubbing, rinse the area with hot water. Hot water helps to dissolve oils, making it easier for the dish soap to work its magic. Follow this up with a regular wash cycle, and you’ll be amazed at how effective this simple solution can be. Now, for a somewhat unconventional but surprisingly effective method – using white chalk on grease stains. It might sound a bit strange, but chalk has excellent absorbing properties. Simply take a piece of white chalk and rub it over the grease stain. The

How to Tackle Tough Stains on Clothes: 5 Proven Methods Read More »

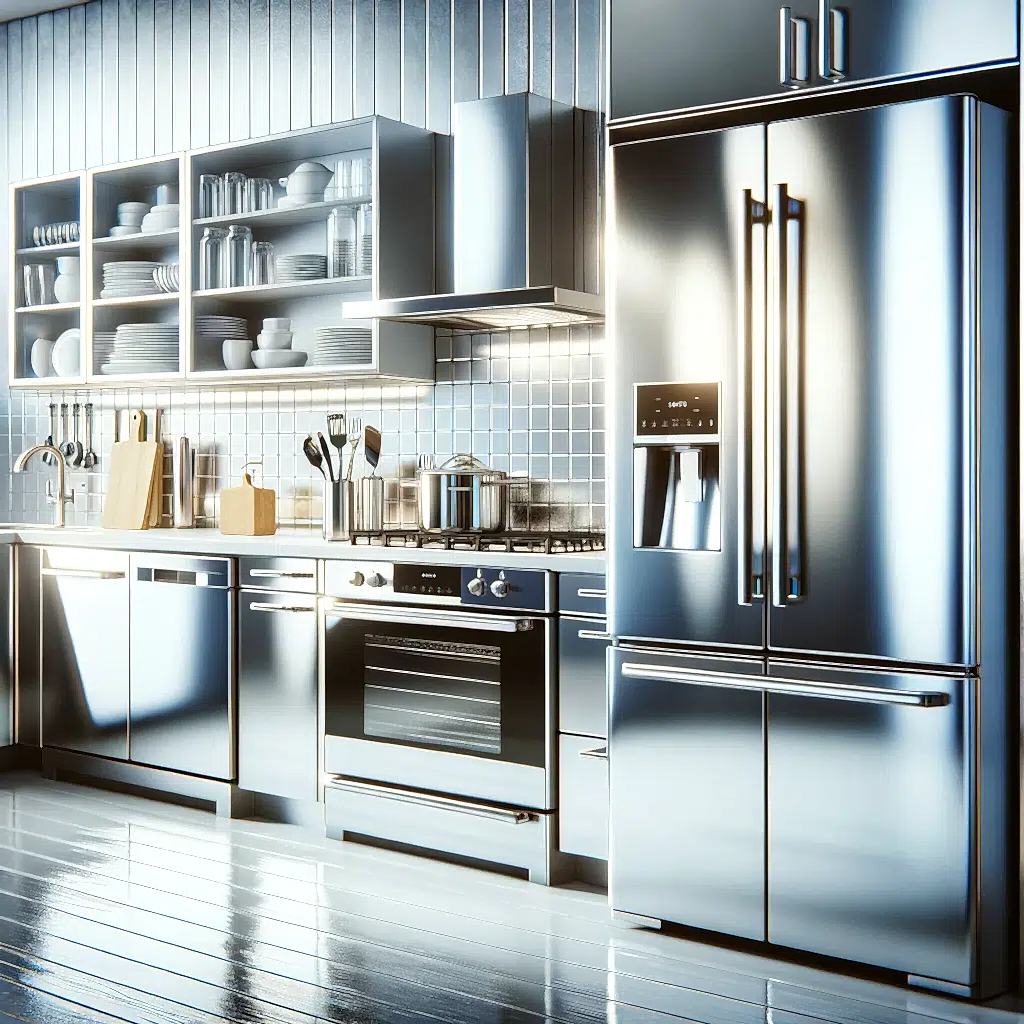
Shiny Polished Stainless Steel Surface

5 Tips to Perfectly Clean Stainless Steel Appliances

Hey there, folks! Today, we’re diving into a shiny topic – keeping those stainless steel appliances in your kitchen looking absolutely fabulous! A clean Stainless Steel is sleek, modern, and oh-so-classy, but let’s face it, it can be a bit of a diva when it comes to cleaning. Streaks, fingerprints, and smudges – we’ve all been there. But worry not, I’ve got some easy-peasy tips to make your stainless steel appliances sparkle like new! 1. Start with the Right Tools First up, let’s give a big shoutout to microfiber cloths. These aren’t your ordinary rags. Microfiber cloths are the secret stars of the cleaning world. They’re made of super fine fibers that are softer than silk. When you use a microfiber cloth, you’re not just wiping the surface; you’re giving it a gentle hug. This means they won’t leave any scratches or marks on your stainless steel, which is crucial because who wants a scratched-up fridge or dishwasher? Not me! Microfiber cloths are like dirt and grease magnets. They pick up and hold onto grime, so you’re not just moving dirt around, you’re actually lifting it off the surface. Plus, they’re reusable – just toss them in the wash and they’re good as new. Eco-friendly and economical? Yes, please! Moving on to cleaners, there’s a common misconception that you need strong, harsh chemicals to get stainless steel clean. But in reality, it’s the complete opposite. Stainless steel responds best to gentler, more loving care. Often, all you need is a mix of warm water and a mild dish soap. This combo is gentle yet effective enough to tackle everyday grime without damaging the surface. For those tougher spots – you know, the ones that make you think they’re going to live on your toaster forever – white vinegar is your go-to. White vinegar is like the unsung hero of the natural cleaning world. It cuts through grease and grime without being too harsh. It’s also great for dealing with water spots that tend to make stainless steel look dull. Just mix it with some water, and you’ve got yourself a powerful cleaner that’s still gentle on your appliances.     2. Follow the Grain When we think of stainless steel, we often imagine a smooth, uniform surface. However, if you take a moment to look a little closer, you’ll notice that just like wood, stainless steel has its own unique grain. This grain is essentially the subtle lines or striations that you can see on the surface. They might be vertical, horizontal, or even diagonal, depending on the appliance. Why does this matter? Well, when you’re cleaning, always wiping in the direction of this grain is like going with the flow of the river rather than against it. This approach is not just about being thorough; it’s about being smart. By aligning your cleaning strokes with the grain, you’re ensuring that every swipe of your cloth is maximally effective. It’s like each stroke is guided by the grain, allowing you to pick up and remove every bit of dirt and grime along the way. You might wonder if this extra attention to detail really makes a difference. The answer is a resounding yes! Firstly, following the grain helps to eliminate all the unwanted gunk more efficiently. This is because the grooves of the grain can trap particles, and wiping against the grain might just leave some behind. But when you wipe along the grain, you’re essentially guiding the dirt along the path of least resistance, right off the appliance. This method also plays a big role in preventing scratches. Stainless steel, despite its name and sturdy feel, can actually be quite susceptible to scratching. These scratches can be more visible if you clean in a haphazard manner. By following the grain, you reduce the risk of leaving behind those unsightly marks that can catch the light and show up like little battle scars on your otherwise pristine appliance. 3. Spot Treatment Let’s talk about fingerprints first. If you have stainless steel appliances, you know the struggle. It seems like all it takes is one glance in their direction, and poof! Fingerprints everywhere. These little reminders of our daily life can be quite the eyesore on otherwise pristine surfaces. But don’t despair, there’s a surprisingly simple solution: olive oil. Yes, the same stuff you use in your salad dressing can actually help with fingerprints on stainless steel. Remember this: moderation is key. You only need a tiny dab of olive oil on a soft cloth. Gently rub this over the fingerprints in a circular motion. What happens next is almost like magic. The oil helps to lift and remove these greasy smudges, leaving behind a clean, smudge-free surface. Plus, it adds a little bit of shine, making your appliance look even better. It’s like giving your fridge or dishwasher a mini spa treatment! Then there are those tough, baked-on messes that seem to cling on for dear life. Maybe it’s a splash of sauce that went unnoticed or a drip of something sticky that decided to make your oven its permanent home. For these, you’ll need something stronger than just soap and water. Enter the dynamic duo of baking soda and water. Mixing baking soda with a little water creates a gentle yet effective paste. This paste is kind of like an exfoliating scrub for your appliances. Apply it gently with a cloth to the stubborn spots. The mild abrasive nature of baking soda helps to lift the grime without scratching the surface. After a few minutes, wipe it off with a damp cloth, and you should see a noticeable difference. This method is especially great for areas that see a lot of action, like around the handles or control panels. 4. Shine It Up You might wonder, why glass cleaner? Well, it turns out that the same product that gives your windows and mirrors that streak-free sparkle can work wonders on stainless steel too. The beauty of glass cleaner

5 Tips to Perfectly Clean Stainless Steel Appliances Read More »

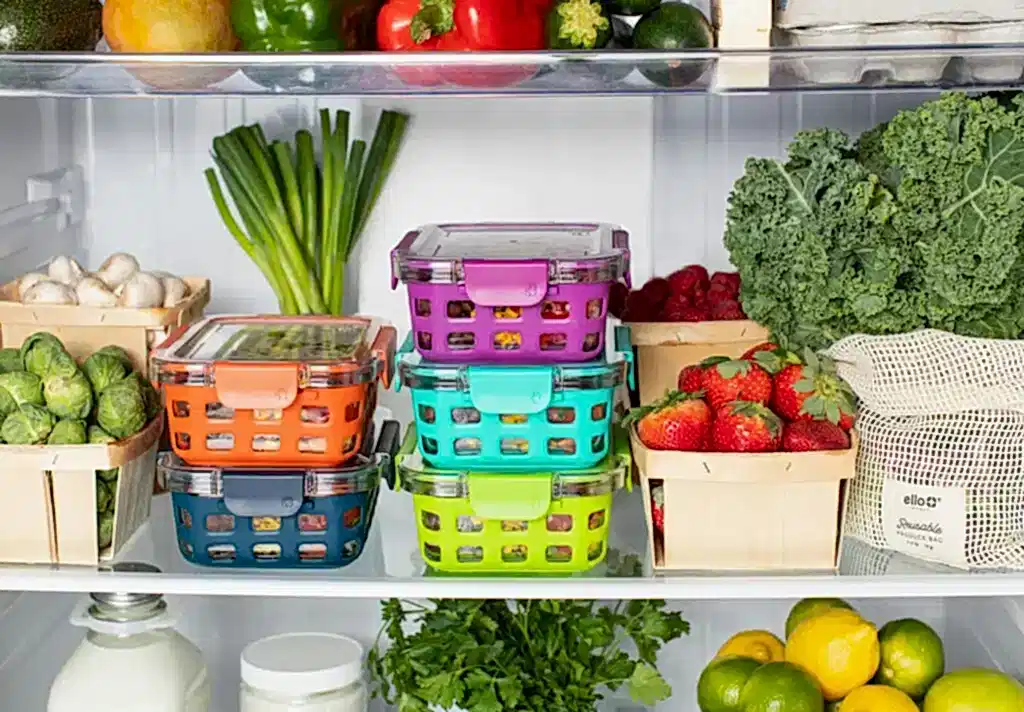
Kitchen refrigerator brimming with fresh veggies and meals.

How to Eliminate Refrigerator Odors: 5 Simple Steps

Hey there! Does your fridge smell like it’s been storing leftovers from a decade ago? Don’t worry; we’ve all been there. Getting rid of those stubborn fridge odors might seem like a daunting task, but with these five simple steps, you’ll have your refrigerator odor fresh in no time. Let’s dive in! Step 1: Empty and Sort Begin by taking everything out of your fridge. Yes, everything! This includes all those jars, bottles, and containers hiding in the back. Lay everything out where you can see it. This way, you’re not just tackling odors; you’re also getting a clear view of what’s in your fridge. You might be surprised to find a few items you forgot were there! Now, put on your detective hat. It’s time to investigate each item. Check those expiration dates closely. Sometimes, things get pushed to the back and forgotten. That jar of salsa from last summer’s BBQ? It might be time to say goodbye. Be ruthless here. If it’s past its prime or you can’t remember when you bought it, it’s better to toss it. As you’re sorting through your fridge contents, start organizing. Group similar items together – like keeping all your condiments in one area and dairy products in another. This not only helps you keep track of what you have but also makes it easier to find things later. Plus, a well-organized fridge is more efficient – it keeps everything cool more effectively. While you’re sorting, think about freshness. If you have fruits and vegetables, give them a quick check. Fresh produce can sometimes be the hidden source of fridge odors, especially if they start to go bad. Soft, overripe fruits or wilted veggies? It’s time for them to go.       Step 2: Deep Clean Time Your go-to cleaning solution is simple yet powerful: equal parts water and white vinegar. Why vinegar, you ask? Well, it’s a natural disinfectant and deodorizer, making it perfect for tackling those pesky fridge smells without leaving any harmful residues. Plus, it’s super budget-friendly and likely already in your pantry. Armed with your vinegar solution, start wiping down every surface inside your fridge. This includes the walls, the ceiling of the fridge, and even the floor of it. Pay special attention to the shelves and drawers. Remove them if possible for a more thorough clean. Sometimes, spills and crumbs get trapped under these areas, contributing to unwanted odors. Ah, the infamous nooks and crannies! These are the spots where spills often hide and odors linger. Use a soft brush or an old toothbrush dipped in your vinegar solution to gently scrub these areas. The rubber seals around the door, for example, are notorious for trapping food particles and mildew. Give them a good, gentle scrub. While the inside is crucial, the outside of your fridge needs love too, especially the handles and the top of the fridge. These areas can accumulate a lot of grime from daily use. A quick wipe-down with your vinegar solution not only keeps them clean but also maintains the overall hygiene of your kitchen. After you’ve wiped everything with the vinegar solution, it’s a good idea to go over the surfaces with a clean, damp cloth. This helps to remove any lingering vinegar smell and ensures that no cleaning residue is left behind. Once everything is clean, make sure to dry off all the surfaces with a clean towel. Moisture can be a breeding ground for bacteria and mold, which are big no-nos in your quest for a fresh fridge. Step 3: Baking Soda, the Refrigerator Odor Eater Baking soda, or sodium bicarbonate, is a natural odor absorber. Unlike air fresheners that just mask smells, baking soda actually neutralizes odors. It works by balancing pH levels, neutralizing both acidic and alkaline substances. This quality makes it perfect for tackling a variety of odors that can accumulate in your fridge from different foods. After your fridge is clean and dry, take an open box of baking soda and place it at the back of one of the shelves. Why the back? It’s less likely to get knocked over, and it ensures that the baking soda covers a large area of your fridge. If your fridge is particularly large or tends to get smelly quickly, consider using two boxes, placing one on each side. Baking soda does a fantastic job at absorbing odors, but it doesn’t work forever. Over time, its odor-absorbing abilities diminish. That’s why it’s important to replace the box of baking soda every three months. Set a reminder on your phone or mark it on your calendar – it’s a small step that makes a big difference. For an extra boost, you can stir or shake the baking soda occasionally. This simple action exposes new surfaces of the baking soda, enhancing its odor-absorbing capabilities. If you notice any strong odors in your fridge before the three-month mark, check the baking soda. Sometimes, particularly pungent foods might shorten its lifespan. Here’s a little bonus tip: Baking soda isn’t just great for odors; it’s also handy for cleaning. If you ever encounter a tough stain in your fridge, sprinkle some baking soda on a damp sponge and scrub away. It’s gentle yet effective, making it perfect for dealing with spills and stains. Step 4: Regular Maintenance Setting aside time each week for a quick fridge check can be a game-changer. This doesn’t need to be a lengthy process. A swift wipe-down of the shelves and bins, and a rapid scan for any spills or crumbs, can make a significant difference. Use a damp cloth for the wipe-down; if you encounter sticky or stubborn spots, a little bit of your vinegar solution from the deep clean can come in handy. During your weekly ritual, be vigilant about expiration dates. This is not just about discarding spoiled food; it’s about maintaining the overall health of your fridge. Expired items can be breeding grounds for bacteria and mold, which contribute to bad odors

How to Eliminate Refrigerator Odors: 5 Simple Steps Read More »

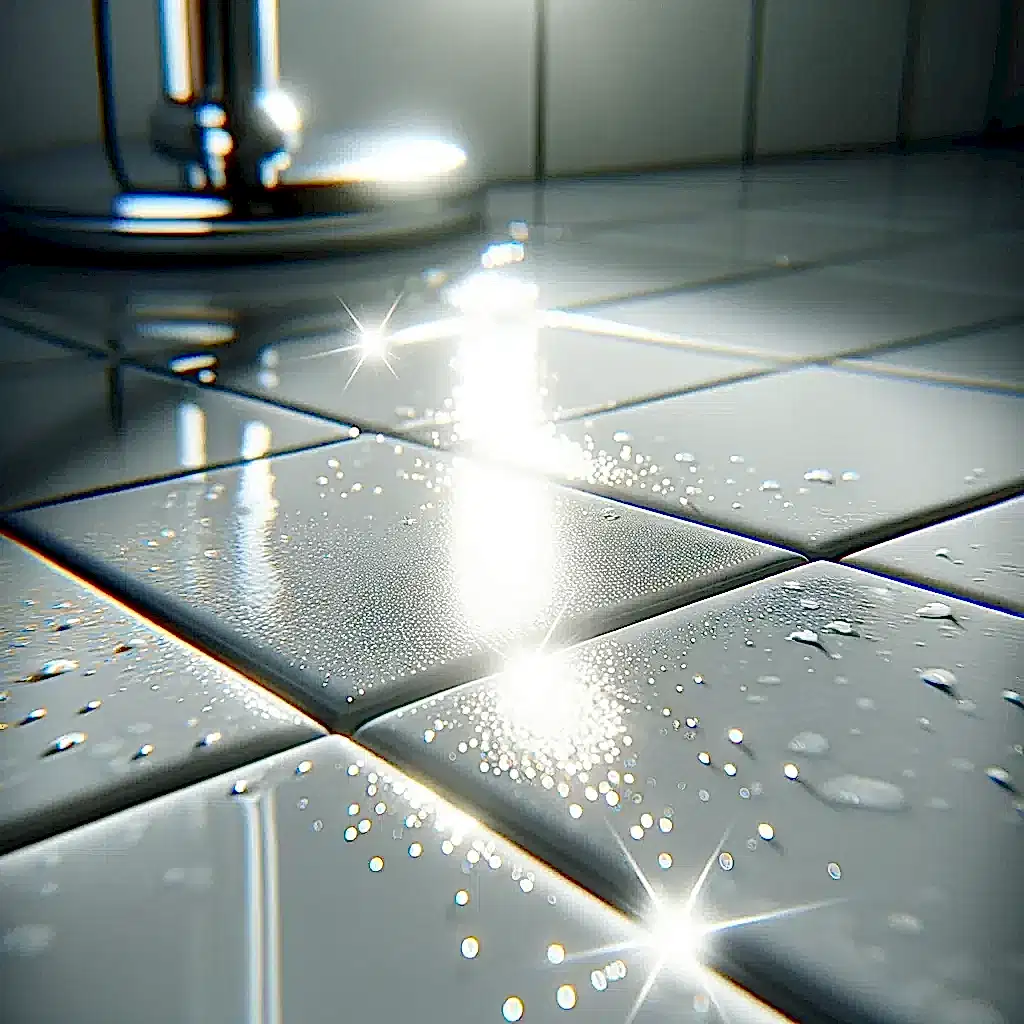
Wet shower tiles in bathroom

5 Quick and Easy Ways to Remove Soap Scum from Shower Tiles

Hey there, fellow clean freaks! Are you tired of staring at that pesky soap scum on your shower tiles every morning? You know, those cloudy streaks that just refuse to leave no matter how much you glare at them? Well, it’s time to roll up your sleeves because I’ve got some nifty tricks to make your shower tiles sparkle again. Let’s dive into “5 Quick and Easy Ways to Remove Soap Scum from Shower Tiles” and turn that bathroom blunder into a shining success! 1. Vinegar: The Natural Wonder First, grab yourself a spray bottle. This will be your main tool in this cleaning adventure. Mix equal parts of white vinegar and water in it. This dilution is the perfect balance – strong enough to tackle the soap scum but gentle enough not to harm your tiles. Next, let’s get spraying. Coat those shower tiles generously with your vinegar solution. Be liberal with it; don’t hold back! Let this magical potion sit and work its wonders for about 10 minutes. This waiting period is crucial – it gives the vinegar time to break down the soap scum, making your scrubbing job much easier. After those 10 minutes have passed, it’s time for some elbow grease – but not too much! Scrub lightly with a non-abrasive brush or sponge. We don’t want to damage the beautiful finish of your tiles, after all. Gentle circular motions usually do the trick, helping to lift and remove the loosened soap scum. Finally, the grand finale – rinse off the tiles with water. You’ll likely notice the difference immediately. The once cloudy and streaky tiles should now be clear, clean, and shining. It’s almost like giving your shower a new lease on life!     2. Baking Soda: The Gentle Scrub It’s time to whip up a little magic. Mix the baking soda with water until it forms a paste. It should have the consistency of a thick frosting – easy to spread but not too runny. This paste is going to be your secret weapon against that stubborn soap scum. Now, with your homemade paste at the ready, it’s time to get down to business. Apply it directly onto the shower tiles. You can use your fingers or a spatula – whatever floats your boat. Cover the tiles evenly with this gritty, grime-fighting paste. Once you’ve got your tiles looking like a frosted cake, grab a soft brush or sponge. It’s scrubbing time, but remember, we’re going gentle. You don’t need to be a muscle-bound hero to get this job done. Scrub in circular motions, and you’ll feel the baking soda working its magic, breaking down the soap scum without any harsh chemicals or overwhelming fumes. After you’ve given the tiles a good, gentle scrubbing, it’s rinse time. Splash them with water and watch as the paste and all the soap scum it’s grabbed onto wash away. You might even find yourself saying out loud, “Wow, it’s actually working!” as you watch the grime disappear down the drain. 3. Commercial Cleaners: The Quick Fix Soap Scum When you choose a commercial cleaner, you’re not just picking up a bottle; you’re grabbing a specially formulated solution that’s been tried and tested to ensure it does the hard work for you. Just remember to follow the instructions on the label closely – these aren’t just suggestions, they’re the roadmap to a clean bathroom! Safety is paramount, so make sure you’re using the product as intended. Typically, using these cleaners is as easy as pie. You’ll usually start by spraying the cleaner directly onto the shower tiles. Make sure you’re covering all the affected areas. Then, patience is key. Let the cleaner sit for a few minutes as stated on the label. This dwell time is crucial for the solution to penetrate and break down the soap scum. After the waiting game, it’s time to rinse. Wash off the cleaner with water, and you should see a noticeable difference. The soap scum that was once clinging to your tiles should now be going down the drain. It’s like giving your shower a mini-makeover without breaking a sweat. One crucial tip to remember – ventilation. When using any commercial cleaning product, it’s important to keep your bathroom well-ventilated. Open a window, turn on the exhaust fan, or keep the door open. Proper ventilation helps to disperse any fumes and keeps the air in your bathroom fresh and safe to breathe. 4. Lemon Oil: For a Streak-Free Shine Imagine this: you’ve just finished cleaning your tiles using one of the methods we’ve talked about, and they’re looking pretty good. But, you want to take it to the next level. You want that “wow” factor. This is where lemon oil comes into play. It’s like the polish on a freshly cleaned car or the cherry on top of a sundae. Take a few drops of lemon oil – you don’t need much – and apply it to a soft cloth. This is your new best friend for adding that final touch. Gently wipe down the tiles with the cloth. As you do this, you’ll notice a couple of things happening. First, the lemon oil cuts through any remaining water marks or streaks, leaving behind a crystal-clear surface. It’s like giving your tiles a mini spa treatment. But the magic of lemon oil isn’t just in its cleaning power. As you wipe down the tiles, the air will start to fill with a fresh, citrusy scent. It’s uplifting and invigorating, transforming your bathroom into a serene haven. This aroma adds an extra layer of clean, making the whole room feel more refreshed and rejuvenated. Finally, as you step back to admire your handiwork, you’ll notice how the tiles seem to sparkle. Lemon oil leaves behind a subtle sheen that catches the light, giving your bathroom a polished, well-cared-for look. It’s these little details that make all the difference, turning a regular cleaning routine into something special. 5. Dish Soap &

5 Quick and Easy Ways to Remove Soap Scum from Shower Tiles Read More »

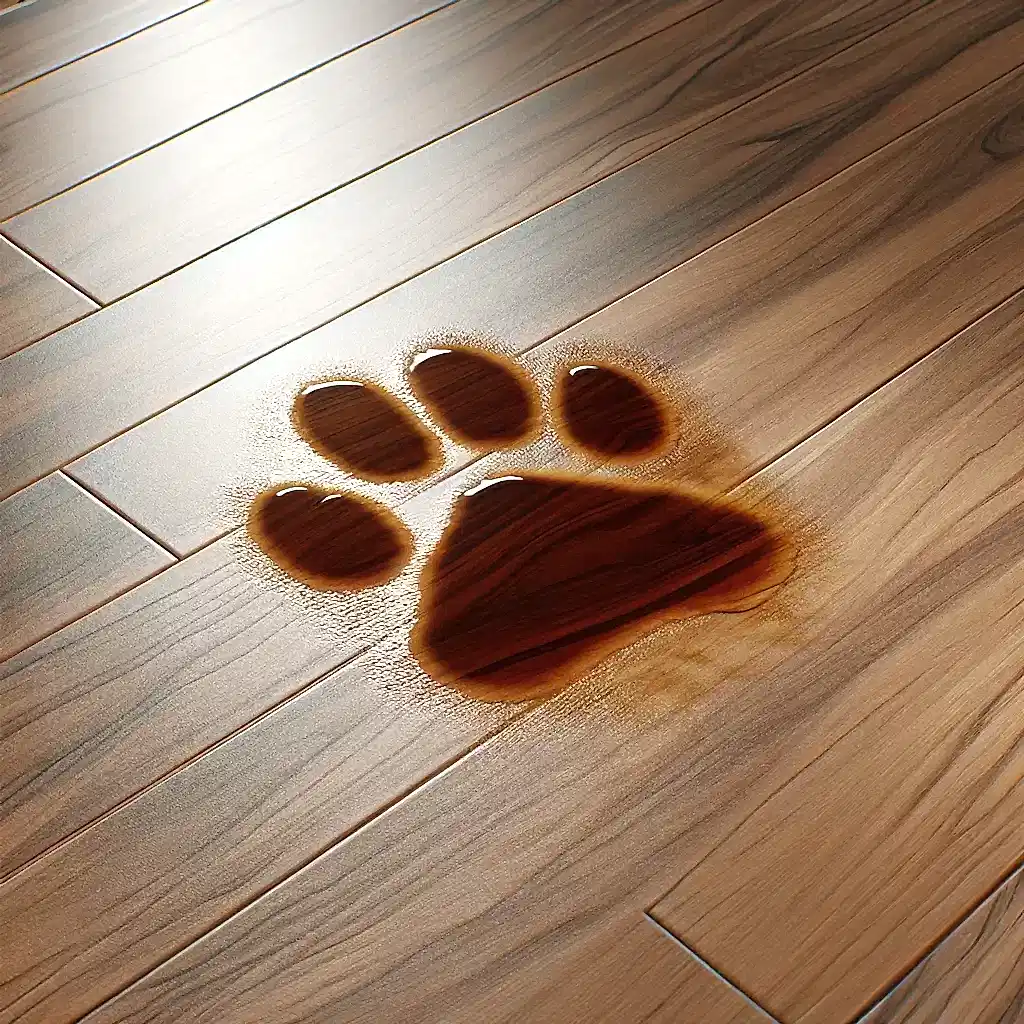
Remove Pet Stains Easily

7 Simple Steps to Eliminate Pet Stains from Your Hardwood Floors

Hey there, pet parents and clean freaks alike! Today, we’re diving into a super common yet pesky problem: those stubborn pet stains on your beautiful hardwood floors. Whether it’s a little accident from your furry friend or some muddy paw prints, we’ve got you covered with 7 easy-peasy steps to get your floors looking spick and span. Let’s jump right in! Step 1: Identify the Pet Stains Early You know the saying, “a stitch in time saves nine”? Well, it couldn’t be more true when it comes to pet stains on hardwood floors. The key is all about timing. The quicker you catch that sneaky stain, the easier it will be to clean it up without leaving a mark. Why Fresh Stains are Easier to Handle Less Absorption: Hardwood floors, while sturdy, are like sponges with spills. The longer a stain sits, the deeper it seeps into the wood. Fresh stains are mostly on the surface, making them less of a headache to clean. Color Prevention: Older stains can discolor your hardwood, leaving an unsightly spot that’s tough to reverse. Acting fast helps preserve the natural beauty of your floors. Odor Control: Let’s not forget the smell! Fresh stains haven’t had time to set in and start smelling. Tackling them early helps keep your home smelling fresh and clean. Tools to Keep Handy Absorbent Cloths: Always have these within easy reach. The quicker you can blot a stain, the better. Enzyme-based Cleaner: These are great for breaking down pet messes and are safe for hardwood floors. Keep a bottle in a convenient spot. Flashlight or Black Light: Sometimes, stains aren’t obvious. A quick scan with a light can reveal hidden spots. Step 2: Blot, Don’t Rub When you rub a stain, especially on a porous surface like wood, you’re actually helping the stain set in deeper. It’s kind of like rubbing dirt into a white shirt – the more you rub, the worse it gets. Instead, what you want to do is gently dab at the stain with a clean, absorbent cloth or paper towel. This way, you’re soaking up the liquid without spreading it around. This method is particularly important for hardwood floors. Unlike some other surfaces, wood absorbs liquids and can be easily damaged. By blotting, you’re minimizing the risk of the liquid seeping into the wood and causing swelling, warping, or permanent discoloration. Imagine trying to clean a spill on a beautiful piece of wood furniture – you wouldn’t go at it with a scrub brush, right? The same principle applies to your floors. Step 3: Use a Pet-Safe Cleaner When it comes to pet stains, not all cleaners are created equal. You might be tempted to grab the strongest, most heavy-duty cleaner you can find, but pause for a second. Those harsh chemicals might be great at tackling tough stains, but they can also be harmful to your pets. Our four-legged friends are much closer to the floor than we are and can easily come into contact with residue from cleaning products. This can lead to skin irritations, allergic reactions, or even more serious health issues if they ingest any of the chemicals. That’s where pet-safe cleaners come in. These products are specifically formulated to be tough on stains but gentle on your pets. They usually contain non-toxic, natural ingredients that are effective at breaking down the stain without posing any risk to your furry family members. Plus, many of these cleaners are environmentally friendly, which is a nice bonus for keeping your home green. But wait, it gets better. These cleaners aren’t just safe for pets; they’re also perfect for your hardwood floors. We all know that wood can be a bit finicky when it comes to moisture and chemicals. Pet-safe cleaners are designed to be gentle on your floors, avoiding any potential damage like warping or discoloration. Finding these cleaners is a breeze. You can usually pick them up at your local pet store or order them online. Having one of these in your cleaning arsenal means you’re always prepared to tackle any accidents without worry.     Step 4: Gentle Scrubbing Picture this: you’re armed with a soft brush or a cloth, and you’re ready to tackle the stain. The key word here is ‘gentle.’ Hardwood floors are like the sensitive skin of your home; they need to be treated with care. Vigorous scrubbing might seem like the way to go to get that stain out, but in reality, it can do more harm than good. Aggressive scrubbing can scratch the beautiful finish of your hardwood floors, leaving them looking dull and worn. Instead, think of it like massaging a lotion into your skin. Use a soft brush or cloth and apply the cleaner to the stained area. Then, with a light touch, gently scrub in a circular motion. This method helps to lift the stain from the wood without causing any abrasions. It’s all about applying just enough pressure to address the stain while preserving the integrity of your floor’s finish. As you scrub, you might find that the stain requires a bit more elbow grease than anticipated. If that’s the case, don’t be tempted to scrub harder. Instead, reapply your cleaner and continue with gentle, circular motions. Sometimes, patience and persistence are your best tools in cleaning. Step 5: Rinse with Water After you apply and scrub in the shampoo, you need to rinse it out thoroughly, right? The same principle applies here. After scrubbing, take a clean cloth and dampen it with water. Now, you don’t want this cloth dripping wet – just moist enough to do the job. Use this damp cloth to gently wipe over the area where you applied the cleaner. This helps to lift and remove any remaining cleaning solution from your hardwood floor. Why is this step so crucial? Well, if any cleaner is left behind on the floor, it could potentially damage the wood over time. Residue from cleaning products can attract more

7 Simple Steps to Eliminate Pet Stains from Your Hardwood Floors Read More »

Professional cleaning specialist providing top-notch sanitization services.

Hiring a Maid in Toronto: 7 Easy Key Factors to Consider

Hey Toronto folks! Are you thinking about hiring a maid in toronto to make your life a bit easier? Great idea! But before you jump in, let’s chat about the seven key factors you should consider to make sure you find the perfect fit for your home. 1. Trustworthiness and Reliability Maid in Toronto When it comes to letting someone into your home, the feeling of trust can’t be overstated. You’re not just looking for someone who can clean well, but also someone who respects your space and privacy. This is where checking references becomes crucial. A good maid or cleaning service will have no issue providing you with references from previous clients. It’s a good idea to follow up on these references to get a real sense of how reliable and trustworthy the maid is. Ask these references specific questions like: Did they ever miss scheduled cleaning sessions? How did they handle any delicate or valuable items in the home? Online reviews can be a goldmine of information. People are usually pretty honest about their experiences, so if a maid service has a bunch of positive reviews, that’s a great sign. On the flip side, if there are recurring complaints, especially about trustworthiness or reliability, you might want to keep looking. If you’re going with a company like Toronto Shine Cleaning, you’re already taking a step in the right direction. Established companies typically conduct background checks on their employees, which adds an extra layer of security and peace of mind for you. Plus, they often have systems in place for accountability, like regular supervision and quality checks. The goal is to find someone who not only does a great job cleaning but also someone you feel comfortable having in your home. After all, they’re going to become a part of your personal space, even if it’s just for a few hours a week. You want to be sure that they’re as committed to caring for your home as you are. 2. Experience and Expertise When we talk about a maid’s experience, we’re not just talking about how long they’ve been cleaning. We’re talking about their knowledge of different cleaning techniques, understanding of various types of surfaces and materials, and their ability to tackle different kinds of cleaning challenges. For instance, the approach to cleaning hardwood floors is different from how one would clean a tiled surface. A seasoned maid knows this and will have the know-how to handle each surface with the care it deserves. Expertise also comes into play with more specialized cleaning tasks. Take deep-cleaning, for instance. This isn’t just about dusting and vacuuming. It’s about getting into every nook and cranny, eliminating dust, grime, and allergens that accumulate over time. It’s a thorough, detailed process that requires specific skills and attention to detail. Similarly, post-construction cleaning is another beast altogether. It involves dealing with construction dust, debris, and possibly stains from building materials – tasks that require specific cleaning methods and products. When interviewing potential maids or cleaning services, don’t hesitate to ask about their specific areas of expertise. Are they more experienced in regular household cleaning, or do they shine in deep-cleaning scenarios? How do they handle sensitive materials like marble or antique wood? What’s their approach to tackling stubborn stains or getting rid of pet hair? The answers to these questions will give you a clearer picture of whether their skill set matches your needs. An experienced maid can often provide valuable tips and advice on maintaining your home’s cleanliness and preventing common issues. They might suggest the best cleaning products for your surfaces or offer a better way to organize your space for easier cleaning. This kind of expertise is invaluable and can make your day-to-day life a lot simpler. 3. Cleaning Supplies and Equipment The question of whether your maid brings their own supplies or uses yours is more important than it might initially seem. There are several aspects to consider here. First, the quality and effectiveness of the cleaning products and equipment. A professional maid or cleaning service often comes equipped with high-quality, commercial-grade cleaning supplies and tools that might be more effective than what most of us have in our homes. This can mean a deeper, more thorough clean for your home. If you’re someone who’s keen on using specific products, perhaps due to allergies, sensitivities, or a commitment to environmentally friendly living, this becomes an even more crucial consideration. You’ll want to ensure that the maid is willing and able to use the products you prefer. Some cleaning services, like Toronto Shine Cleaning, offer eco-friendly cleaning options. This is a great choice for those looking to minimize their environmental impact. Eco-friendly products are designed to be gentle on the earth while still being tough on dirt and grime. Another point to consider is the cost and convenience factor. If the maid brings their own supplies, this can save you the hassle and expense of having to keep your home stocked with a wide range of cleaning products and equipment. On the other hand, if you prefer to use your own supplies for reasons like scent preferences, familiarity, or sensitivity to certain chemicals, you’ll want to ensure that your maid is comfortable and experienced in using them effectively. In addition, using the maid’s supplies can also be a marker of their professionalism. It often indicates that they are serious about their business, investing in the right tools and products to deliver the best results. It can also be a sign of their commitment to health and safety standards, as professional-grade products often adhere to higher regulatory requirements.     4. Flexibility and Availability Flexibility in a maid service is about more than just being able to book a cleaning session at a convenient time. It’s about how well they can adapt to the changing rhythms of your life. Maybe you have a last-minute family gathering and your home needs to be spruced up quickly, or perhaps you suddenly have

Hiring a Maid in Toronto: 7 Easy Key Factors to Consider Read More »

Microwave with a lot of appliances around it.

How to Choose the Right Cleaning Tools: 7 Essential Picks for Your Home

Hey there, fellow clean freaks! Are you in a pickle trying to figure out which cleaning tools are must-haves for your home? Worry not, because I’m here to guide you through the wonderful world of cleaning tools. Let’s dive in and explore seven essential picks that will make your home sparkle and shine! 1. Microfiber Cloths: The MVP of Cleaning Tools These cloths are designed with ultra-fine fibers, much finer than a strand of human hair. This unique structure allows them to pick up and trap dirt, dust, and even microscopic germs that regular cloths might just swipe around. It’s like they have a superpower for cleaning! Plus, they’re gentle enough to use on almost any surface without leaving behind scratches or streaks, making them perfect for delicate surfaces like glass and stainless steel. Another super cool thing about microfiber cloths? They’re a win for the environment. Since they’re reusable, you can just toss them in the washing machine after a round of cleaning. This means you’re cutting down on waste compared to using disposable paper towels. Plus, they’re durable, so they’ll be your cleaning buddies for a long time, reducing the need to constantly buy new cleaning supplies. Microfiber cloths are also super absorbent, making them fantastic for wiping up spills. And when it comes to dusting, they’re practically magnetic. Dust particles cling to the cloth like bees to honey, meaning you’re actually removing dust from your home, not just moving it around. 2. A Dependable Vacuum Cleaner Imagine you’ve got a busy household, maybe with kids and a couple of furry friends. In this bustling environment, a vacuum cleaner isn’t just a cleaning tool; it’s a daily necessity. You want something that’s going to be reliable and powerful enough to handle various messes. For homes with carpets, a vacuum with strong suction and a good brush roll is key to getting deep into those fibers, pulling out dirt and pet hair that’s embedded in the carpet. If you’re someone who values convenience and ease of use, a lightweight stick vacuum can be a game-changer. These sleek machines are perfect for quick cleanups. Spilled some cereal in the kitchen? No problem. Need to tidy up the living room before guests arrive? Easy peasy. Stick vacuums are usually cordless, making them super easy to maneuver around furniture and in tight spaces, and they’re often convertible to handheld vacuums for even more versatility. For those with allergies or asthma, a vacuum cleaner with a HEPA filter is a must. These filters trap fine particles like pollen, pet dander, and dust mites that can trigger allergies. It’s not just about cleaning your floors; it’s about creating a healthier living environment. And let’s not forget about the attachments! Crevice tools, upholstery brushes, and extension wands – these aren’t just fancy add-ons; they’re the secret weapons that help you reach every corner, clean your furniture, and even tackle the cobwebs on the ceiling.     3. The Mighty Mop: For Sparkling Floors Walking into a room and being greeted by a floor so clean, it almost sparkles. That’s the power of a good mop. A microfiber mop, especially, is a marvel in the cleaning world. Its secret lies in the microfiber material, which is designed to be both gentle and highly effective. This means whether you’ve got delicate hardwood that needs tender loving care, or robust tile that can handle a good scrub, the microfiber mop is up to the task. What sets the microfiber mop apart is its versatility. It’s not just a wet mop; it’s also fantastic for dry cleaning. Think of it like a dust mop that can attract and trap dirt, dust, and hair just by gliding over your floors. This dual-action – dry for dust and wet for deeper cleaning – means you’re getting a two-for-one deal in floor maintenance. And when it comes to cleaning, the microfiber mop is a step ahead of traditional string mops. The old-school string mops tend to just push the dirt around, but microfiber lifts and traps the dirt and grime. This means you’re not just moving the mess around; you’re actually removing it from your floor. Plus, microfiber mops are easier to wring out and don’t leave annoying streaks or residue behind. Another great feature is their eco-friendliness. Microfiber mop pads are washable and reusable, which means less waste compared to disposable pads. Not only does this save you money in the long run, but it’s also better for the environment. 4. Scrub Brushes Let’s paint a picture of a typical cleaning challenge – the bathroom. It’s a place that’s constantly exposed to moisture, soap scum, and all sorts of grime. You’ve tried wiping it down, but there are still those pesky areas where the dirt seems to laugh in the face of your regular cleaning cloth. Enter the scrub brush. With its sturdy bristles and ergonomic design, it allows you to apply the necessary force to break up and scrub away even the most stubborn grime. It’s like having a magic wand that transforms your bathroom from a dingy to dazzling. The kitchen is another battlefield for the scrub brush. Consider the grout between tiles, the corners of your sink, or even the surfaces of your appliances. These are areas where grease and food particles tend to accumulate, creating a cleaning challenge that your standard cloth or sponge just can’t handle. But with a scrub brush, you can get into those nooks and crannies, ensuring a thorough clean that leaves your kitchen surfaces not just looking clean, but feeling clean too. The beauty of scrub brushes lies in their variety. They come in different shapes, sizes, and bristle stiffness, making them incredibly versatile. A small, stiff-bristled brush can target those hard-to-reach areas like faucet bases or tile grout, while a larger, softer-bristled brush might be ideal for more delicate surfaces that need a gentler touch. This variety ensures that, no matter the cleaning task at hand, there’s a scrub brush

How to Choose the Right Cleaning Tools: 7 Essential Picks for Your Home Read More »

Maid cleaning and organizing bed, professional cleaners

Top 10 Skills for Professional Cleaners: Boosting Efficiency and Client Satisfaction

Hey there! If you’re diving into the world of professional cleaning or just curious about what makes a pro cleaner stand out, you’re in the right place. Cleaning is so much more than just a swipe here and a dust there. It’s an art and a science, blended with a dash of elbow grease. So, let’s get into the top 10 skills that can turn any cleaner into a super cleaner, ensuring efficiency and leaving clients with beaming smiles. 1. Professional Cleaners: Attention to Detail When we talk about attention to detail in the cleaning world, we’re really talking about creating that ‘wow’ moment for clients. It’s that feeling when they walk into a room and can almost sense the cleanliness. This skill isn’t just about doing the basics; it’s about elevating cleaning to an art form. Imagine this: you’re cleaning a living room. Attention to detail means you’re not just vacuuming around the furniture; you’re moving things around to get every bit of dust underneath. It’s checking the tops of picture frames, the edges of the baseboards, and even the ceiling fan blades – places that are often overlooked. But it’s not just about what you clean; it’s also about how you clean it. It involves being methodical in your approach, ensuring that you have a system in place so that you never miss a spot. Maybe you start in one corner of the room and work your way around, or maybe you have a checklist of items to go through for each room. Whatever your method, the goal is the same: leaving no stone unturned in your quest for cleanliness. Attention to detail also extends to the little touches that make a big difference. It’s arranging the cushions just right, folding the end of the toilet paper into a neat triangle, or lining up items on the bathroom counter symmetrically. These might seem like small things, but they add up to create an overall impression of meticulous care and professionalism. And let’s not forget about the sensory experience. Ensuring that the room not only looks clean but also smells fresh and feels airy can transform a space completely. This could mean opening windows to let in fresh air during cleaning, using subtly scented cleaning products, or incorporating natural elements like flowers or plants to enhance the ambiance. 2. Time Management Let’s break it down. Effective time management in cleaning starts with planning. Before even touching a mop or a duster, a professional cleaner assesses the space. What areas need the most attention? Is there a particular order that would make the job go smoother? Planning your route through a space can save heaps of time. For instance, starting from the top (like dusting) and working your way down to the floors means you’re not redoing work. Then there’s the aspect of multitasking, but not the kind that leaves you frazzled. It’s about smart multitasking. Let’s say you’ve got a cleaning solution doing its magic in the bathroom. While it sits, you’re not just waiting around; you’re vacuuming the living room or dusting the shelves. It’s like a well-oiled machine where every moment is utilized efficiently. Another key factor is setting realistic time goals. This comes with experience. Knowing how long it takes to clean certain areas or perform specific tasks can help you gauge your time better. It’s about setting a steady pace that ensures thorough cleaning without rushing through it. But what about those unexpected hiccups? A professional cleaner with good time management skills knows how to adapt quickly. Maybe a room is dirtier than expected, or there are more knick-knacks to dust around than usual. Adapting on the fly and rejigging your plan without getting flustered is part of the skill. And, of course, there’s the importance of not compromising quality. Rushing through a job is a no-go. The goal is to find that sweet spot – being efficient without sacrificing the standard of cleaning. This means being thorough in your work, but also knowing the tricks and techniques that can save time without cutting corners. 3. Knowledge of Cleaning Products and Tools In the world of professional cleaning, knowledge of the right products and tools is akin to an artist knowing their brushes and paints – it’s essential for creating a masterpiece. Each cleaning task has its unique requirements, and using the right tool or product can significantly enhance the quality and efficiency of the work. Consider the vast array of cleaning products available. There are all-purpose cleaners, glass cleaners, disinfectants, and many more, each designed for specific surfaces and types of dirt. A professional cleaner knows that using a glass cleaner on a wooden table could potentially damage the surface. Similarly, an all-purpose cleaner might not be effective for tough bathroom mold. Understanding the chemistry of these products, such as which ones are abrasive, acidic, or alkaline, and where they are best applied, is crucial. It’s not just about making things look clean; it’s also about preserving surfaces and materials in the long run. Then there are the tools of the trade. From microfiber cloths and squeegees to mops and high-powered vacuums, each tool has its purpose. For example, microfiber cloths are great for dusting and polishing because they trap dirt and reduce the spread of allergens. Squeegees are ideal for leaving streak-free finishes on windows and glass. Knowing when and how to use these tools can make a significant difference in the outcome of your cleaning efforts. Safety is another critical aspect. Professional cleaners must know how to handle and store cleaning products safely. This includes understanding which products should not be mixed, how to ventilate areas when using strong chemicals, and the importance of wearing protective gear like gloves or masks when necessary. Staying updated with the latest products and tools in the market is also part of this skill. The cleaning industry is constantly evolving, with new, more efficient, and eco-friendly products being introduced. Keeping abreast of these developments and

Top 10 Skills for Professional Cleaners: Boosting Efficiency and Client Satisfaction Read More »

Boost your efficiency with productivity techniques and tools.

5 Essential Tips: How to Skyrocket Your Cleaning Productivity

Hey there, cleaning enthusiasts and busy bees! Are you ready to turbocharge your cleaning game and make your home sparkle like never before? If you’re nodding yes (we hope you are!), you’re in for a treat. Today, we’re dishing out 5 Essential Tips to skyrocket your cleaning productivity. Say goodbye to those long, exhausting cleaning sessions and hello to a smarter, quicker, and more efficient way of keeping your space spotless. Let’s dive right in! 1. Plan Your Cleaning Productivity Creating a Cleaning Schedule: Planning your cleaning routine is kind of like setting up a personal game plan for tidiness. It’s all about finding what fits into your already bustling life. Think about it – if you’re a morning person, maybe a quick sweep or tidy-up with your coffee can set a productive tone for the day. Or, if evenings are more your jam, dedicating 15 minutes post-dinner to decluttering could be your ticket to a relaxing night. The beauty of a cleaning schedule is its flexibility. For those super busy bees, slotting in short cleaning bursts throughout the week can be a lifesaver. This way, you’re not spending your precious weekend tackling a mountain of chores. On the flip side, if you’re someone who finds cleaning therapeutic (yes, those people exist!), setting aside a few hours on a Saturday or Sunday for a thorough clean can be oddly satisfying. The key here is consistency – sticking to your schedule makes cleaning less of a chore and more of a routine part of life. Breaking Down Your Tasks: When it comes to actually doing the cleaning, think small. Imagine trying to eat a whole pizza in one bite – impossible and messy, right? The same goes for cleaning your entire house at once. Instead, slice it up! Assign different days for different tasks or rooms. For instance, Mondays could be for mopping, Tuesdays for tackling the bathroom, and so on. This approach has a couple of benefits. First, it makes the whole idea of cleaning less daunting. You’re no longer staring down an entire house that needs attention, but rather focusing on one specific area or task. It’s way more manageable and less likely to eat into your relaxation time. Second, it ensures that your entire home gets equal love over time. You won’t end up with a spotless living room and a chaotic kitchen because each area gets its turn in the spotlight. This way of breaking down tasks also allows for some flexibility. If you miss a day, it’s not the end of the world. You can easily adjust your schedule without feeling like you’ve thrown everything off balance. Plus, it’s easier to get family members or roommates on board with smaller, specific tasks. It’s much more appealing to say, “Hey, can you spend 10 minutes cleaning the bathroom sink?” than, “Can you clean the entire bathroom?” 2. Right Tools for the Job Investing in Quality Cleaning Supplies: Imagine trying to paint a masterpiece with a toothbrush. Sounds frustrating, right? That’s exactly what it’s like when you try to clean your home with subpar tools. The secret to making cleaning less of a chore and more of a breeze lies in using the right equipment. When we talk about investing in quality cleaning supplies, we’re not just talking about splurging on the most expensive items on the shelf. It’s about choosing tools and products that are effective and durable. For instance, a reliable vacuum cleaner can be a game-changer, especially if you have pets or a large area to cover. It doesn’t have to be the fanciest model, but look for features that suit your home, like strong suction power or a HEPA filter for allergen control. Let’s not forget about the wonders of microfiber cloths. These little gems are amazing because they trap dirt and dust like a magnet, reducing the amount of elbow grease you need to put in. They’re also reusable, which is a win for both your wallet and the environment. Keeping Your Tools Handy: There’s nothing more annoying than getting in the cleaning groove only to realize your supplies are scattered all over the house. That’s why storing your cleaning tools in an easily accessible place is crucial. Consider having a dedicated spot for your cleaning supplies. This could be a cupboard in your laundry room or a shelf in your pantry. The goal is to have everything in one place, so you don’t waste time hunting for what you need. A portable caddy can be your best friend in this regard. It’s like having a cleaning toolbox. Load it up with your essentials – cleaners, sponges, gloves, brushes, and you’re ready to go. This is especially helpful for larger homes or multi-level apartments. Instead of running up and down stairs for supplies, you have everything you need right at your fingertips. In essence, having the right tools and keeping them handy transforms cleaning from a tedious task into a more effortless and efficient activity. It’s about working smarter, not harder. By investing in quality supplies and organizing them cleverly, you’re setting yourself up for success. This approach not only saves time but also makes the entire process less strenuous and more enjoyable.     3. Declutter Before You Clean Embracing the Less Is More Approach: We’ve all been there – you start to clean, and suddenly you’re faced with mountains of stuff that’s not exactly trash, but definitely in the way. It’s like trying to mow a lawn full of garden gnomes. You can’t really clean effectively until you’ve cleared the space. That’s where the magic of decluttering comes in. Decluttering before diving into cleaning is like setting the stage for a smooth performance. It’s about giving yourself the best possible starting point. For instance, before you even think about wiping down your kitchen counters, make sure they’re clear of unnecessary items. Put away the toaster if it’s not used daily, store those rarely-used spices, and find a home for those

5 Essential Tips: How to Skyrocket Your Cleaning Productivity Read More »

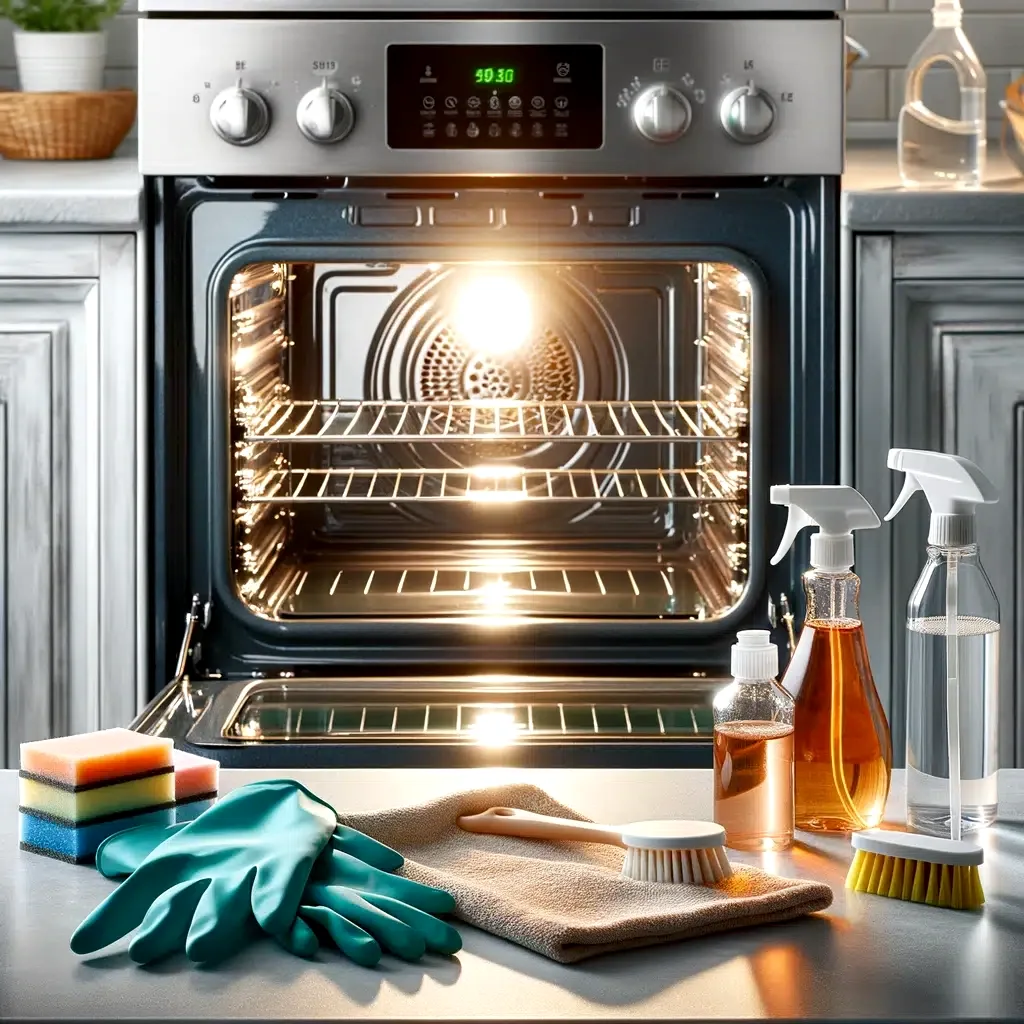
Clean oven, cleaning products, gloves and sponges.

How to Clean Your Oven Quickly and Efficiently: A Step-by-Step Guide

Hey there, fellow clean-freaks! Today, we’re tackling a task that might make some of you cringe just thinking about it – Clean Your Oven Quickly. But fear not! I’ve got a step-by-step guide that’ll make this daunting task quicker and more efficient. Let’s turn that grime into shine! Step 1: Gather Your Supplies First things first, let’s talk tools and supplies. You’ll need: Baking soda White vinegar A spray bottle A damp dishcloth A plastic or silicone spatula A pair of rubber gloves (trust me, you’ll want these) Step 2: Empty the Oven Access to Every Nook and Cranny: When your oven is chock-full of racks, pizza stones, and other accessories, it’s like trying to clean a room full of furniture without moving anything – nearly impossible! Clearing everything out gives you unrestricted access to all those hard-to-reach areas, ensuring a more thorough clean. Individual Attention to Each Item: Each item in your oven has its own cleaning needs. Oven racks might require soaking and scrubbing, while a pizza stone might need a gentler approach. Cleaning them separately ensures they get the care they need without damaging them. Safety and Ease of Cleaning: Let’s face it, oven racks can be heavy and awkward. Removing them makes it safer and easier to clean the oven’s interior. You don’t want to be twisting and turning in odd angles to reach around them, do you? Spot Potential Issues: With everything out of the oven, you can inspect the interior for any maintenance issues that might need addressing, like a faulty heating element or wear and tear. How to Do It Oven Racks: Gently slide them out and set them aside. If they’re grimy, consider soaking them in soapy water while you clean the oven. Pizza Stones or Baking Sheets: Carefully remove these. Remember, pizza stones are porous and require special cleaning methods, like brushing off crumbs and baking on a high heat to sanitize. Thermometers and Other Gadgets: Take these out too. They’re delicate and could be damaged by cleaning agents or scrubbing. Check for Loose Debris: Before you start cleaning, do a quick sweep for any loose crumbs or food particles. These can be wiped out with a dry cloth or a handheld vacuum. Step 3: Make Your Cleaning Paste The heart of this cleaning method lies in baking soda, a humble kitchen staple that doubles as a powerful cleaning agent. Baking soda, or sodium bicarbonate, is mildly abrasive, which makes it perfect for scrubbing off tough stains without scratching surfaces. Plus, it’s a natural deodorizer, so it helps to eliminate any unpleasant smells. When you mix baking soda with water, you create a paste. This paste is the perfect consistency for cleaning – it’s thick enough to cling to vertical surfaces (like the walls of your oven) and gritty enough to scrub away grime. The beauty of making a paste is that it stays where you put it, targeting the dirt directly and giving it a chance to break down the baked-on spills and splatters. Crafting the Perfect Paste Creating this paste is more art than science. Start with half a cup of baking soda and add water gradually. You’re aiming for a spreadable consistency, similar to frosting. Too runny, and it won’t stick to the oven walls; too thick, and it won’t spread easily or penetrate the grime. Adjust the ratio as you mix. If it’s too thick, add a bit more water. If it’s too runny, sprinkle in a bit more baking soda. You’ll know you’ve got it right when it spreads easily but doesn’t drip. Why Baking Soda and Not Something Else? You might wonder, “Why not just use a commercial oven cleaner?” Well, those products often contain harsh chemicals that can be abrasive, toxic, and leave a strong chemical odor. Baking soda, on the other hand, is non-toxic, inexpensive, and widely available. It’s a safer choice, especially for households with pets, children, or anyone sensitive to harsh chemicals. Plus, there’s a certain satisfaction in using a natural, DIY solution – it’s kinder to the environment and gentle on your wallet!     Step 4: Coat the Oven When you’re ready to coat the oven, first slip on those rubber gloves. They aren’t just for keeping your hands clean; they also protect your skin from the grime and grease you’re about to tackle. Now, take the baking soda paste you’ve prepared. Start spreading it around the interior surfaces of your oven. You’ll want to cover every nook and cranny, but be careful to avoid the heating elements. Why? Well, baking soda can have a corrosive effect on these elements, potentially causing damage. Plus, it’s just unnecessary to put paste there as these areas don’t usually get dirty. As you apply the paste, you’ll notice something interesting – it might start turning brown. Don’t worry, this is a good sign! It means the baking soda is reacting with the dirt and grease. This discoloration is the baking soda lifting all that baked-on gunk off the surfaces. It’s sort of like a science experiment happening right in your kitchen. The paste adheres to the grime, and as it sits, it breaks down the tough, burnt-on residues, making them much easier to wipe away later. This coating step is crucial because it’s where the majority of the cleaning action happens. The abrasive nature of the baking soda works against the grime, while its alkaline properties help break down organic substances like grease and food particles. This is why baking soda is such a champion in cleaning – it tackles various types of dirt and stains all at once. Step 5: Let It Sit When you’ve finished spreading the paste, it’s time to step back and let patience play its part. The recommendation to let the paste sit for at least 12 hours, or overnight, isn’t arbitrary. This duration is essential for the baking soda to effectively break down and lift the grime from your oven’s surfaces. So, why the long

How to Clean Your Oven Quickly and Efficiently: A Step-by-Step Guide Read More »